by Dr Mike
Posted on July 2018
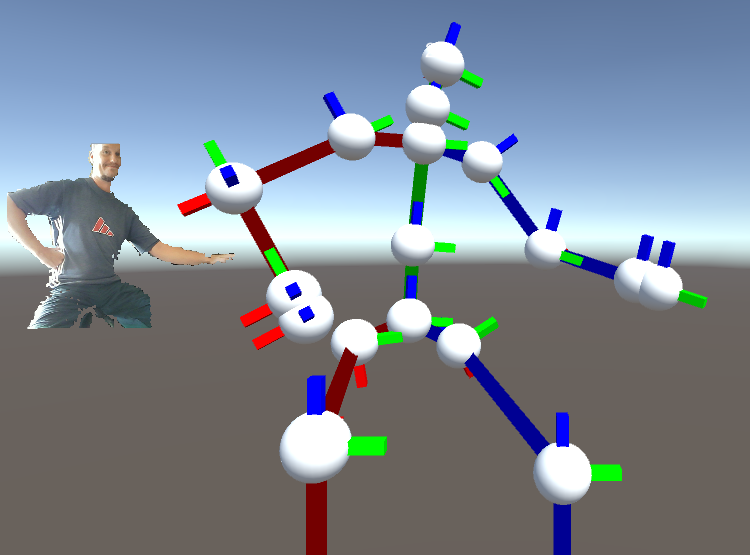
In this article, as promised, we'll get knee-deep in coding Orbbec apps using Unity. Surprisingly, the samples didn't come with the standard skeleton renderer, only a simple class called "SkeletonRenderer" which displays the joint positions only. So, let's make this classic stickman alive!
I'm assuming that you already have the Unity sample project for Orbbec's Astra SDK which we wen't through in the previous article. If you're mostly keen to copy-paste, you can also just download the whole project.
The basic steps for doing that are listed here:
I'm using Astra Pro and Windows 10. Now, let's get to the details.
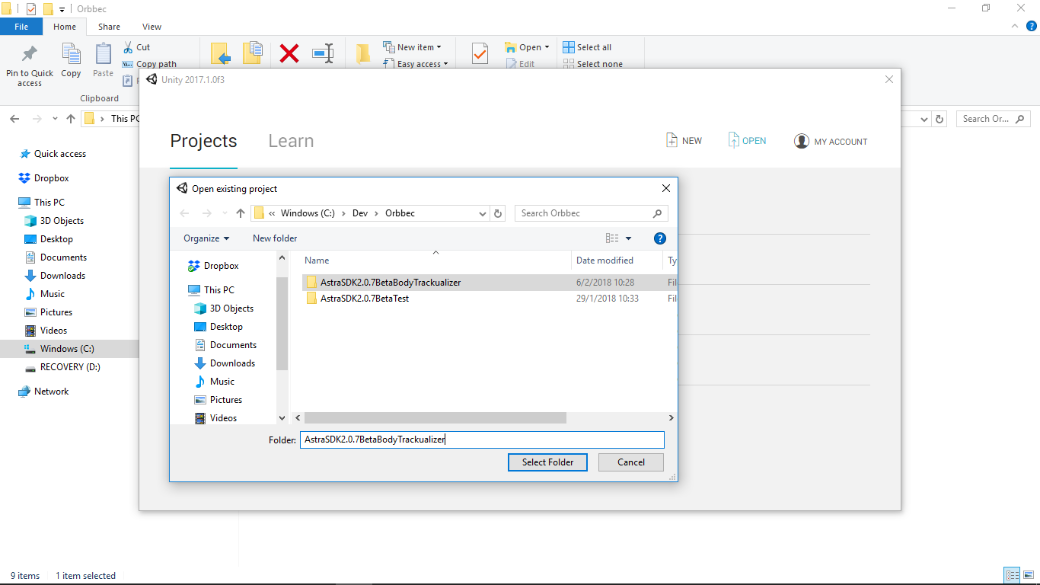
First, to keep the original sample project intact, we just copy the original project as a new project with a new name. Here, "AstraSDK2.0.7BetaBodyTrackualizer".
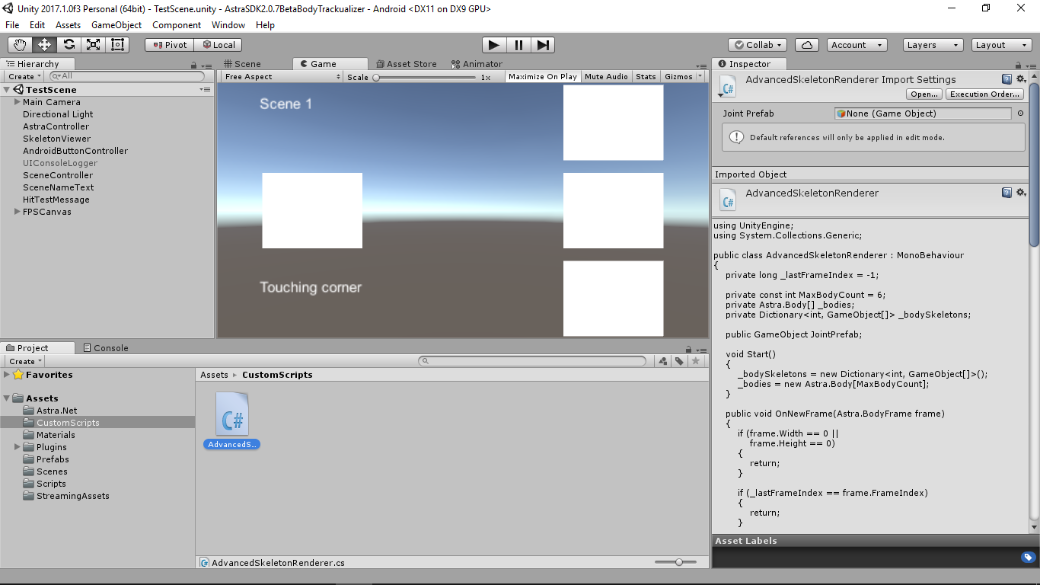
Then, also copy the "SkeletonRenderer" script to another folder and rename it (here: "AdvancedSkeletonRenderer"... rename the class inside the script too). Good idea to copy the "TestScene" with a new name also.
Then to the code.
Let's first create public LineRenderer variables (lines 6-10) so that we can bind simple drawing functions to the script.
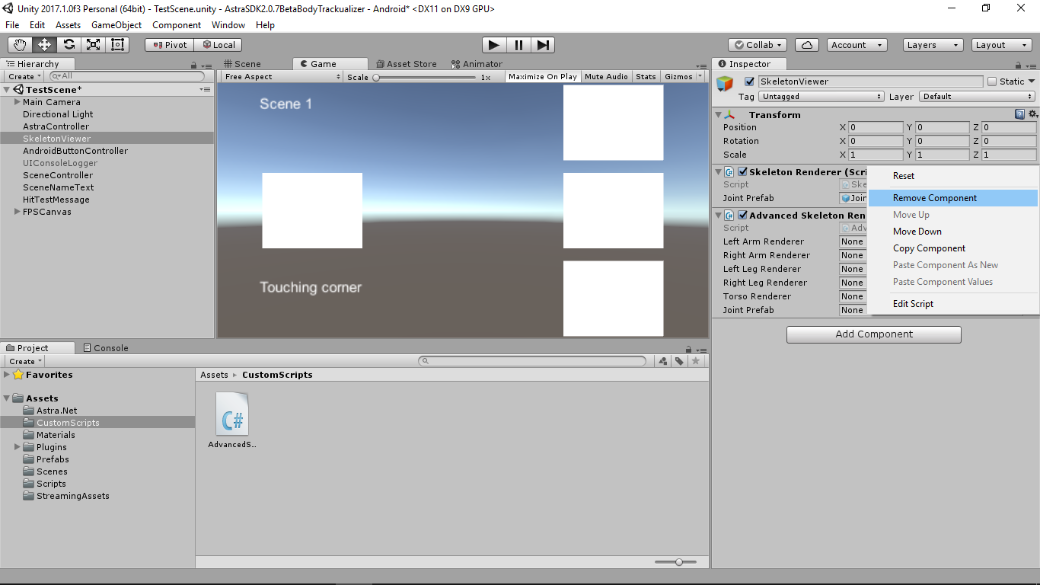
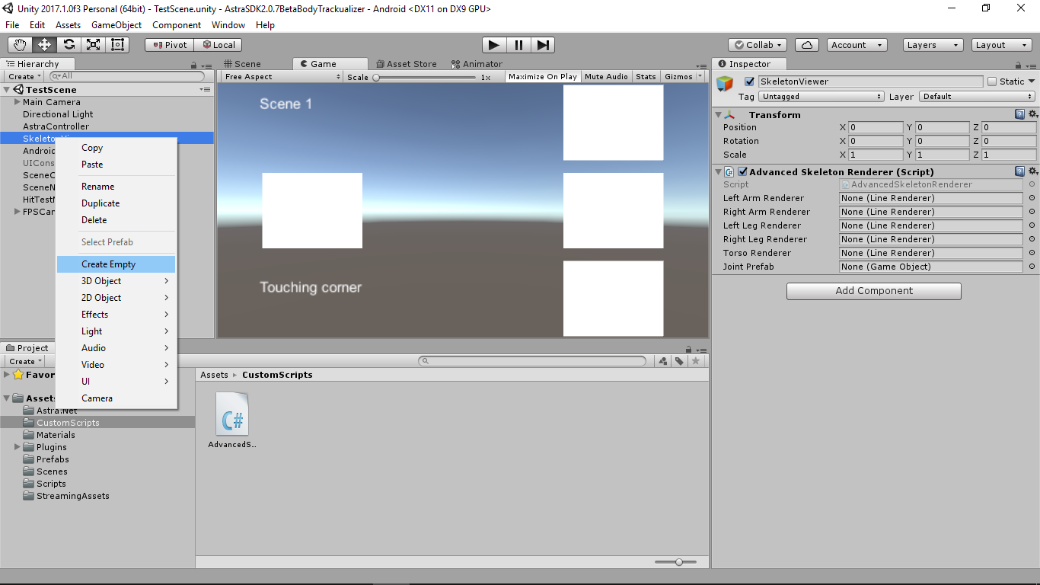
Replace the old "SkeletonRenderer" script with the new "AdvancedSkeletonRenderer" script in the Editor: Select for "SkeletonViewer", remove the old script, then add the new one.
Add a new child to the "SkeletonRenderer" game object.
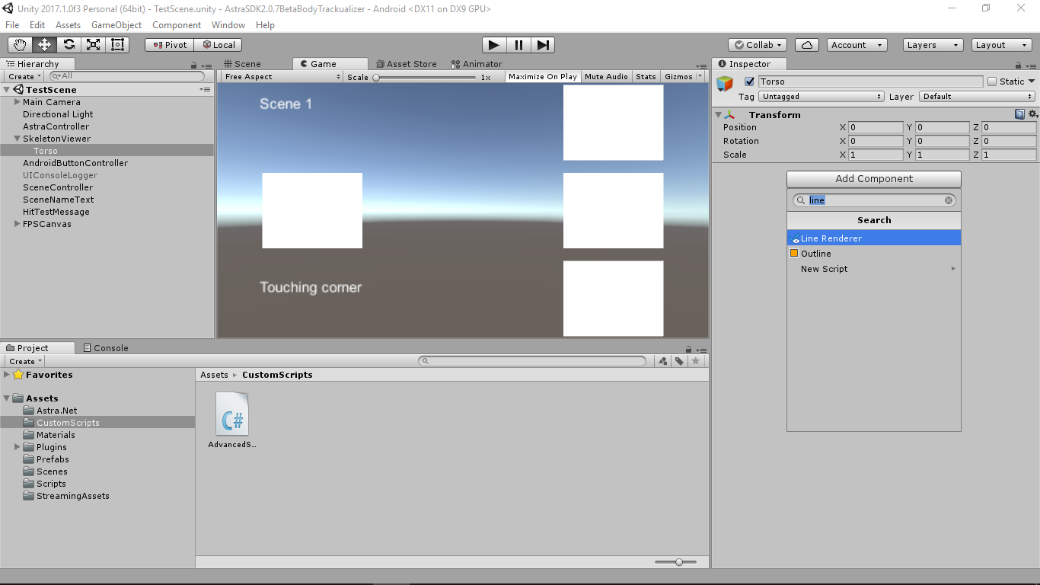
Call it "Torso" and add a LineRenderer component to it.
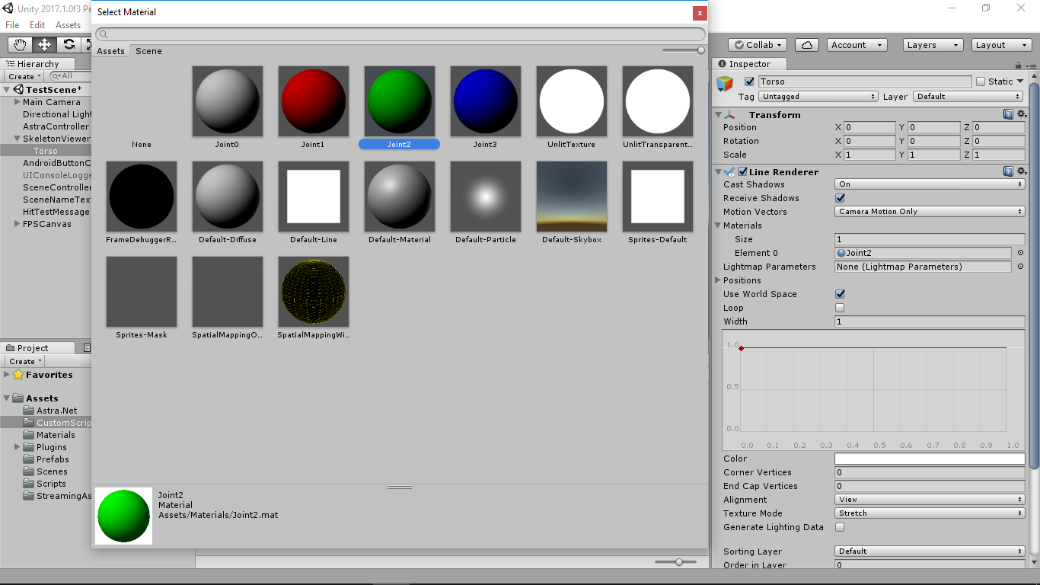
Then, select some material for the LineRenderer component (Element 0). Here, I just pick the green preset for drawing the torso.
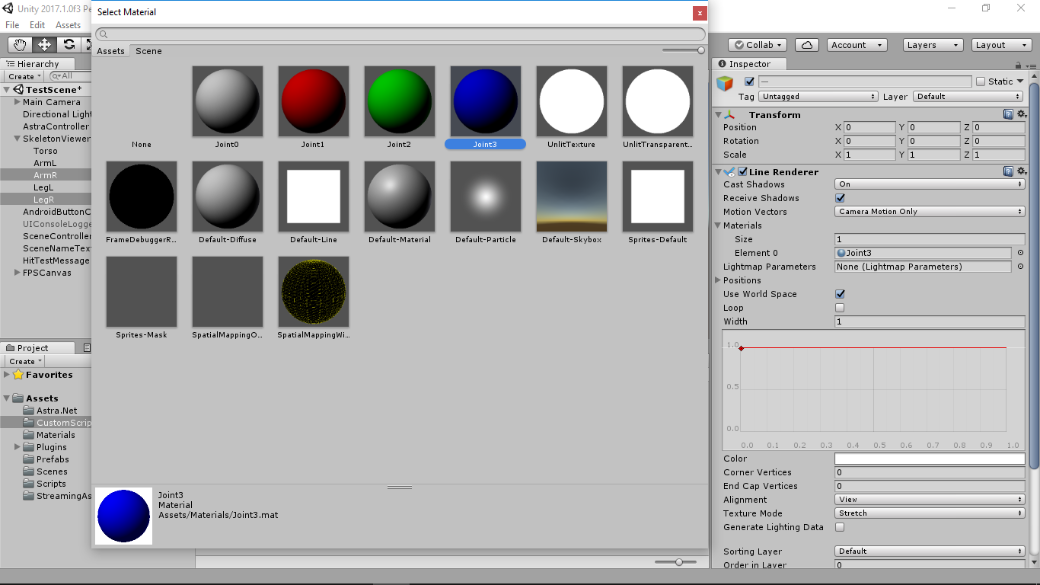
Now we got one renderer done. Let's then make other similar renderers for the arms and legs. We'll need different renderers for displaying each arm and leg as well as the torso separately in different color. Repeat for each limb (4 times):
Here you could create as fancy materials as you like... but let's not get into that this time.
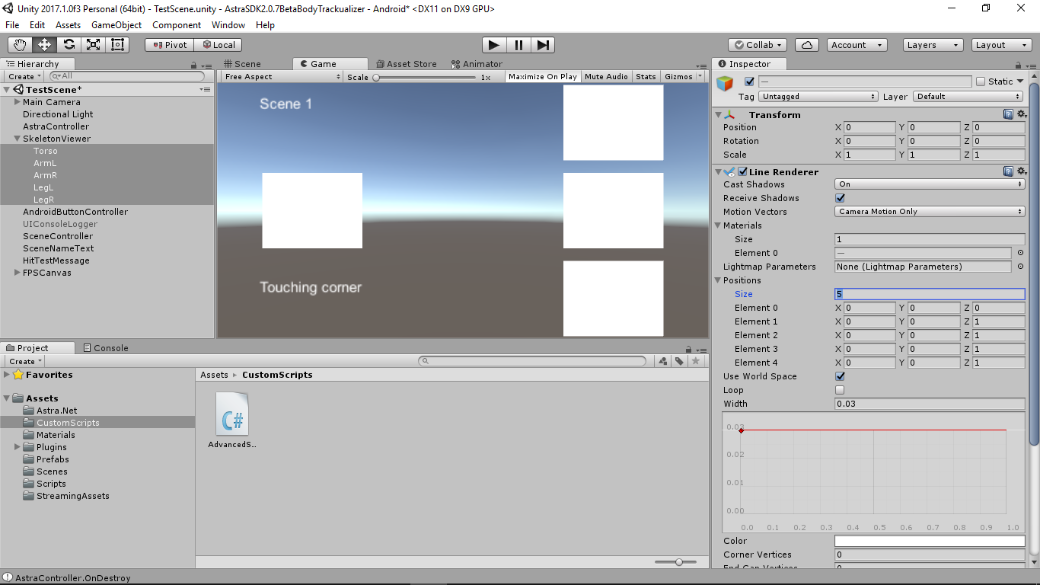
Two important thing must also be done to every renderer: set the line with and number of point positions. In LineRenderer the line width does not mean the number of pixels or anything you could assume, so we should avoid using too thick lines or our stickman is going to look really chubby. Select all the 5 game objects and:
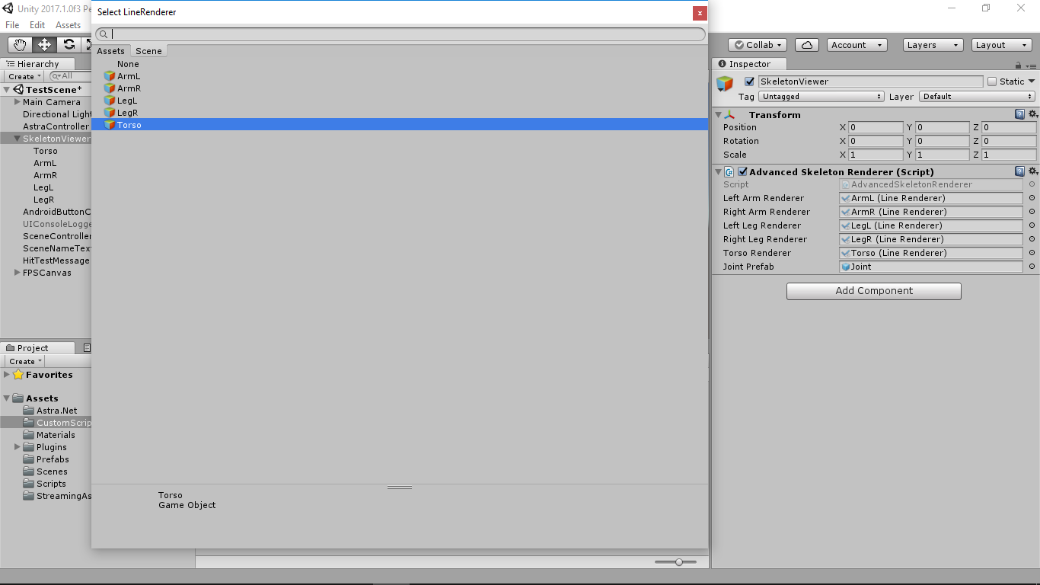
Finally, we have to bind the LineRenderers to our script. Click "SkeletonViewer" and assign all the parameters of "AdvancedSkeletonRenderer". Remember to select the "JointPrefab" as there is no handling for null value in the original "SkeletonRenderer".
What we have now should be enough for drawing different color lines between the relevant joints once we do the last part of coding.

One thing in the editor first. Since we removed the old "SkeletonRenderer", we must bind the body data input from the sensor to our new script. This is done as follows:
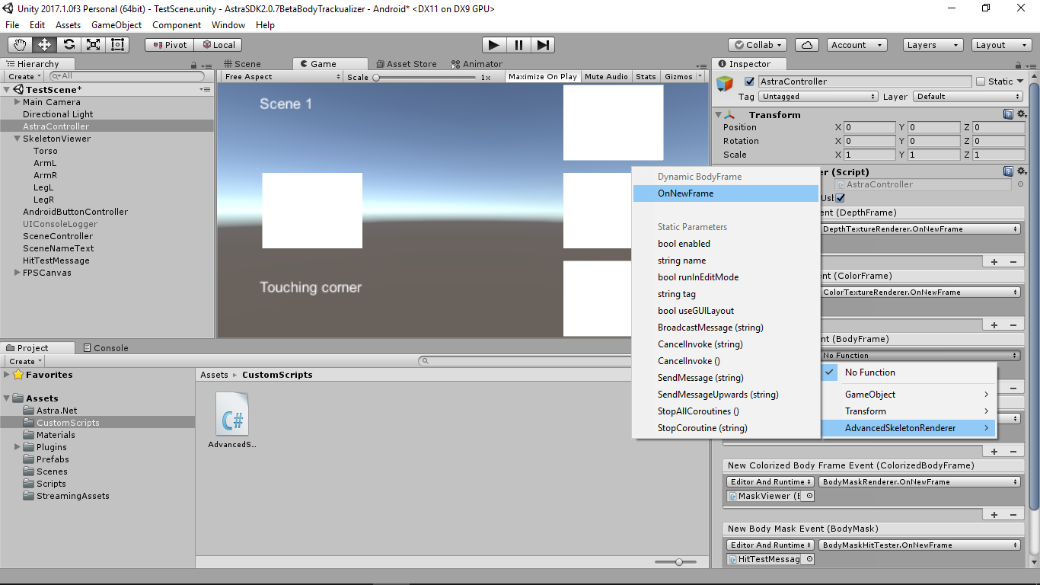
Continue to select "AdvancedSkeletonRenderer" component and its function "OnNewFrame". By doing this, we ensure that every time the sensor produces a new body frame, our script's function is invoked.
We can then move on to see what that "OnNewFrame" function does.
Lines 3-7 seem to just validate that the frame is not empty and lines 9-12 that the frame is new, i.e. the frame number changed from the previous frame. If things look good, the program will proceed to the function called "UpdateSkeletonsFromBodies" which handles all the body data related processing. Let's go to "UpdateSkeletonsFromBodies".
It's a bit long function, but its original part only instantiated the joint prefab and set its position to where the joint locates. Simple. Here, I added:
The point is that we can use each LineRenderer to draw one limb with a single line consisting of a couple of segments. For instance, the left arm starts from the hand, goes to wrist, elbow and shoulder (lines 16-32), and ends at the center of the shoulder (shoulder spine, line 92).
The same pattern can be used for all the limbs. Torso consists of remaining joints in the middle from head to butt, i.e. base spine.
The last part is obvious: we just use each LineRenderer to draw the lines along the bone structure using the "SetPositions" function.

Now, if you haven't made any mistakes, you can run the program in Unity Editor!
That was just the simple case. This is nowhere near perfect piece of code until we:
But maybe this is enough for starters. More coding stuff next month!
© 2014-2018 Improventions. All rights reserved.
Created by MGWalton
Powered by coconuts